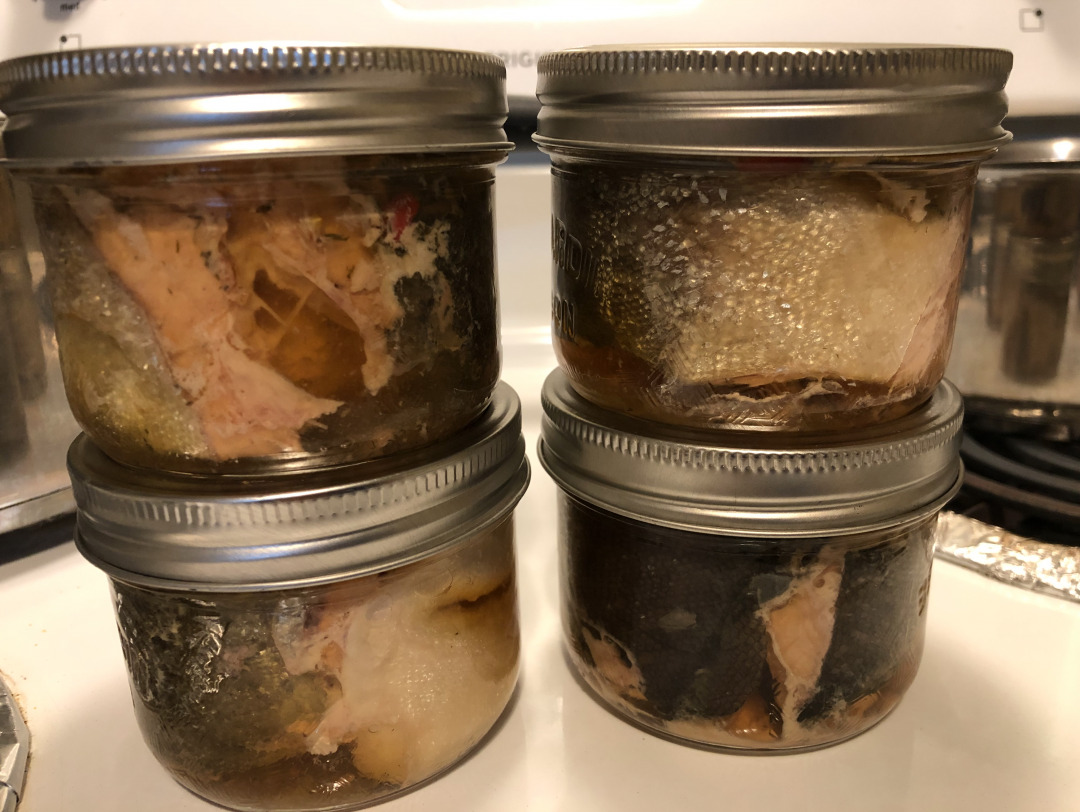
Bites On Canned Salmon Recipe
You have spent the day withBites On Fishing Chartersand have come back with beautiful Pacific Coast salmon. You can vacuum seal your fish and it
can extend its “best by” date for up to a year but properly canned salmon can keep for three years or longer. I tend to can with the half pint jars because they are easy to talk around and easy to store.
What you’ll need
Prep Time: 60 minutes
Processing Time: 120 minutes
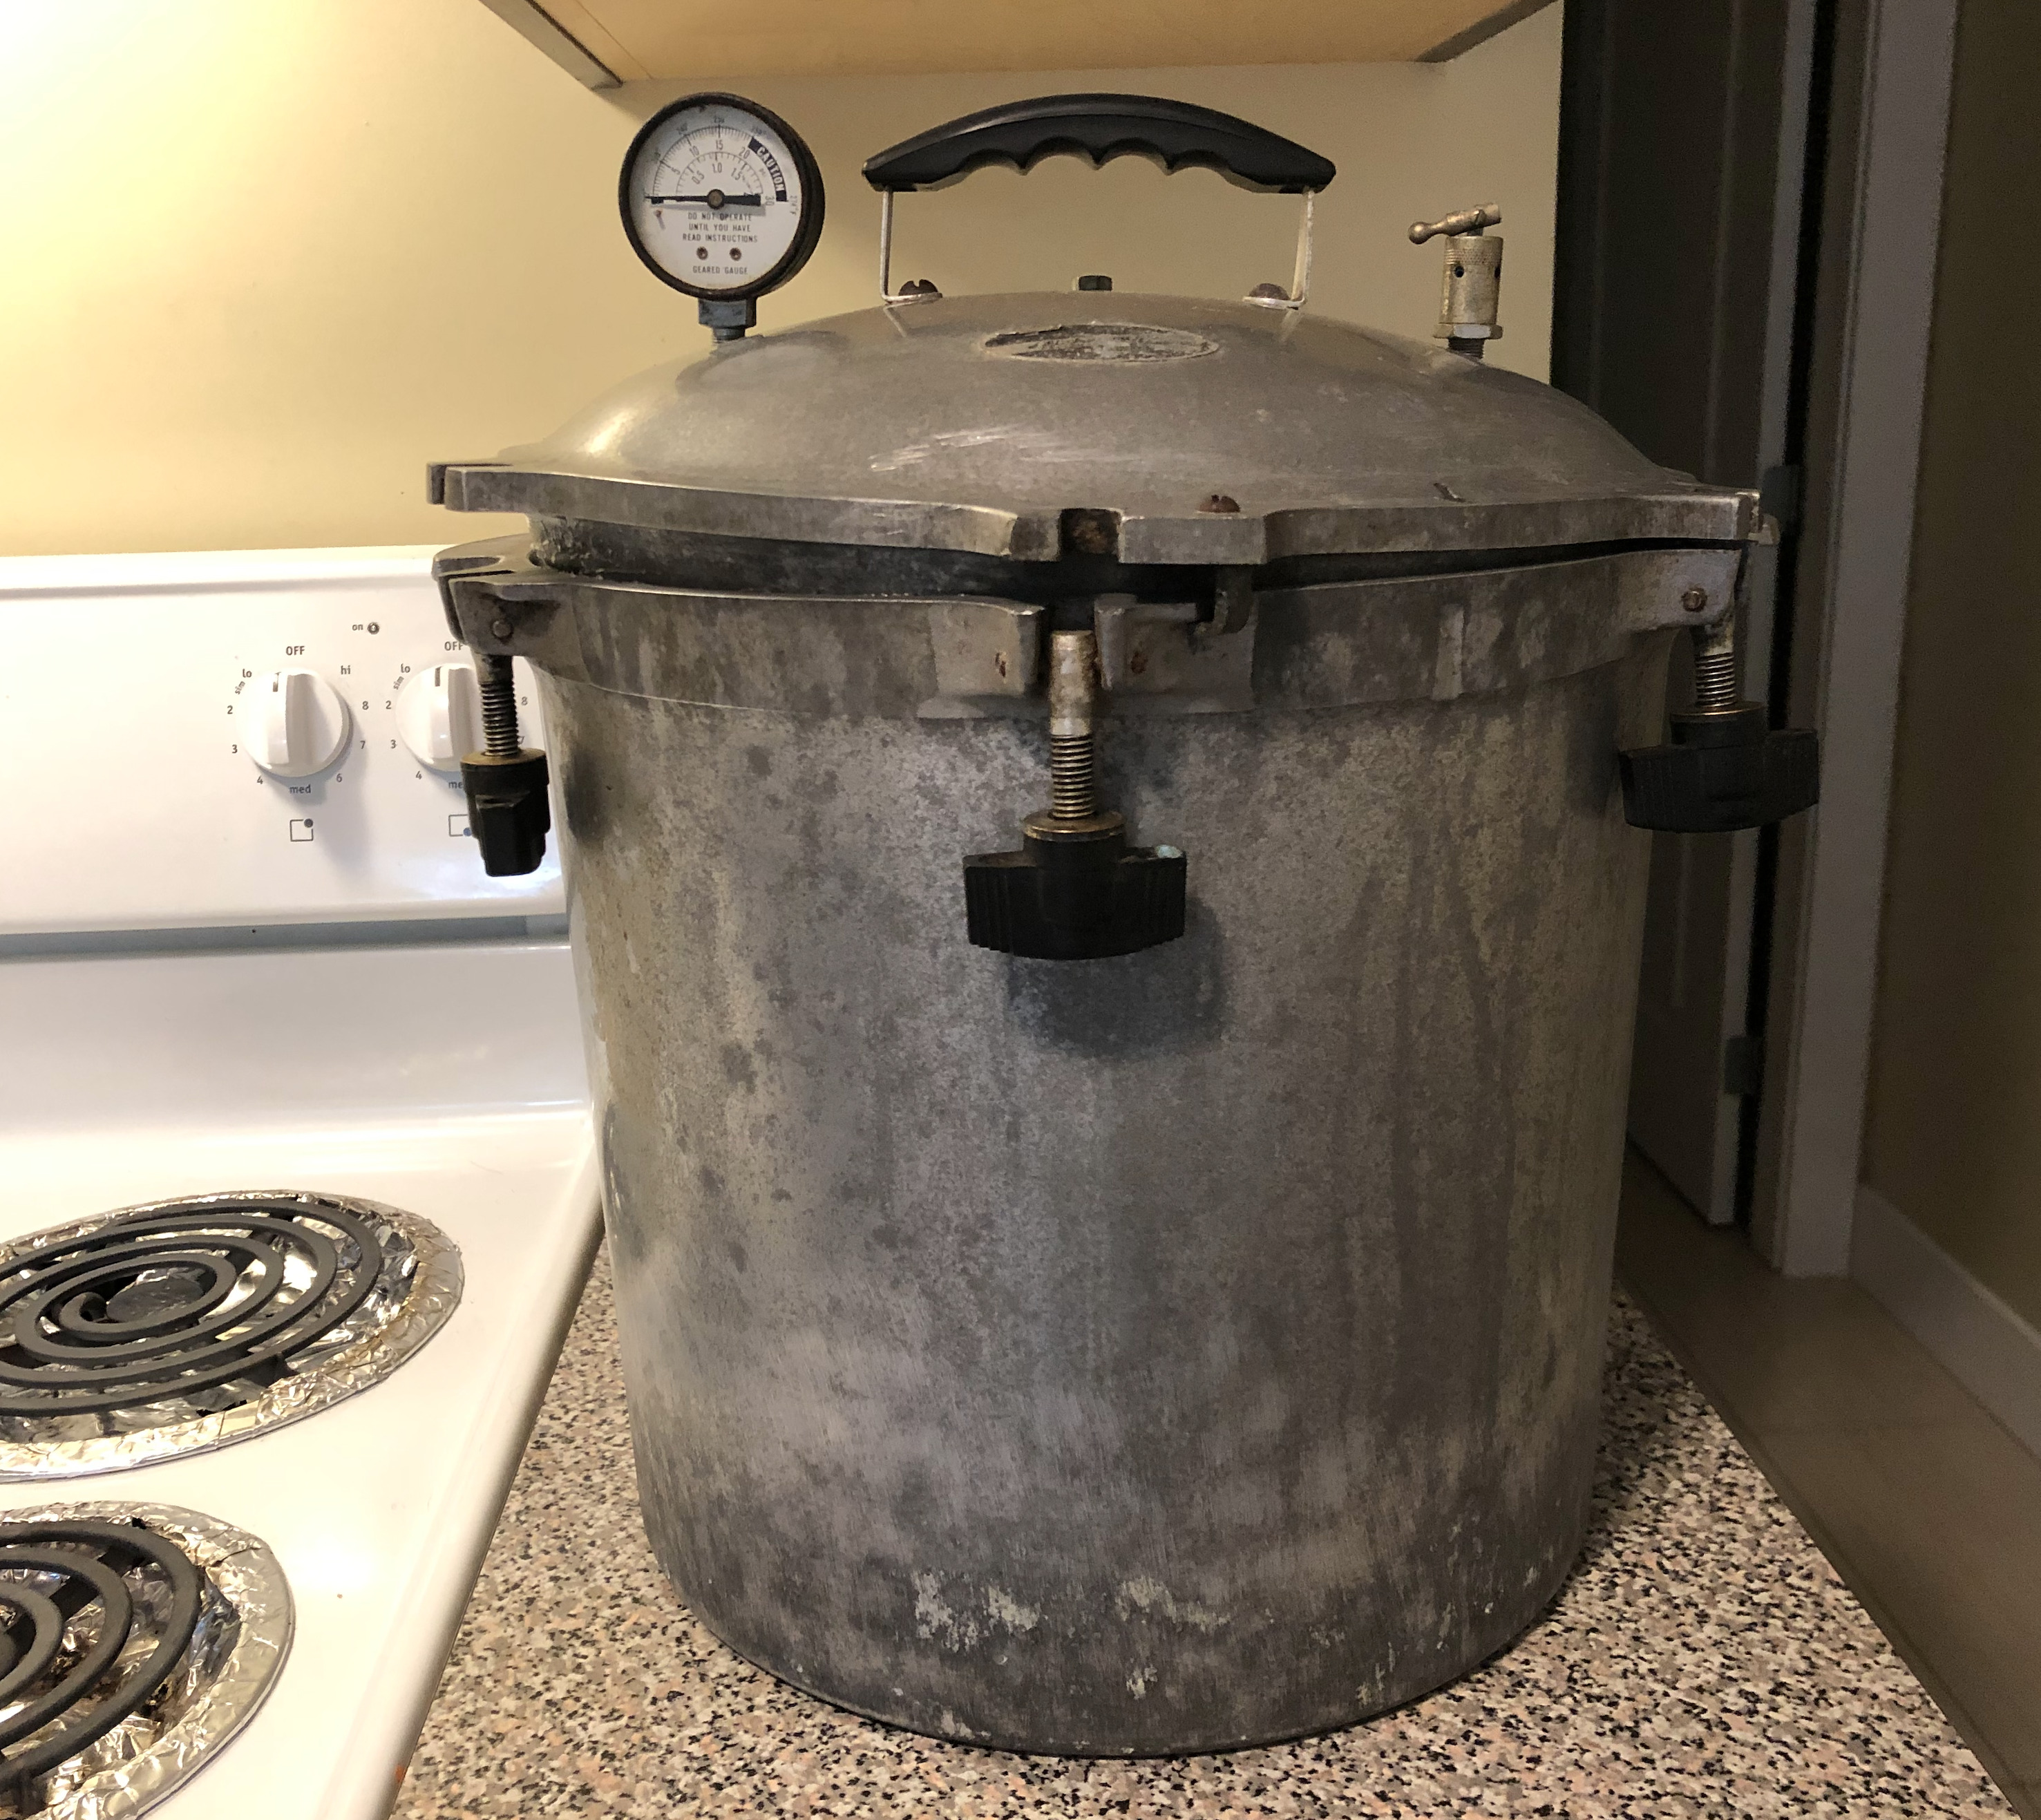
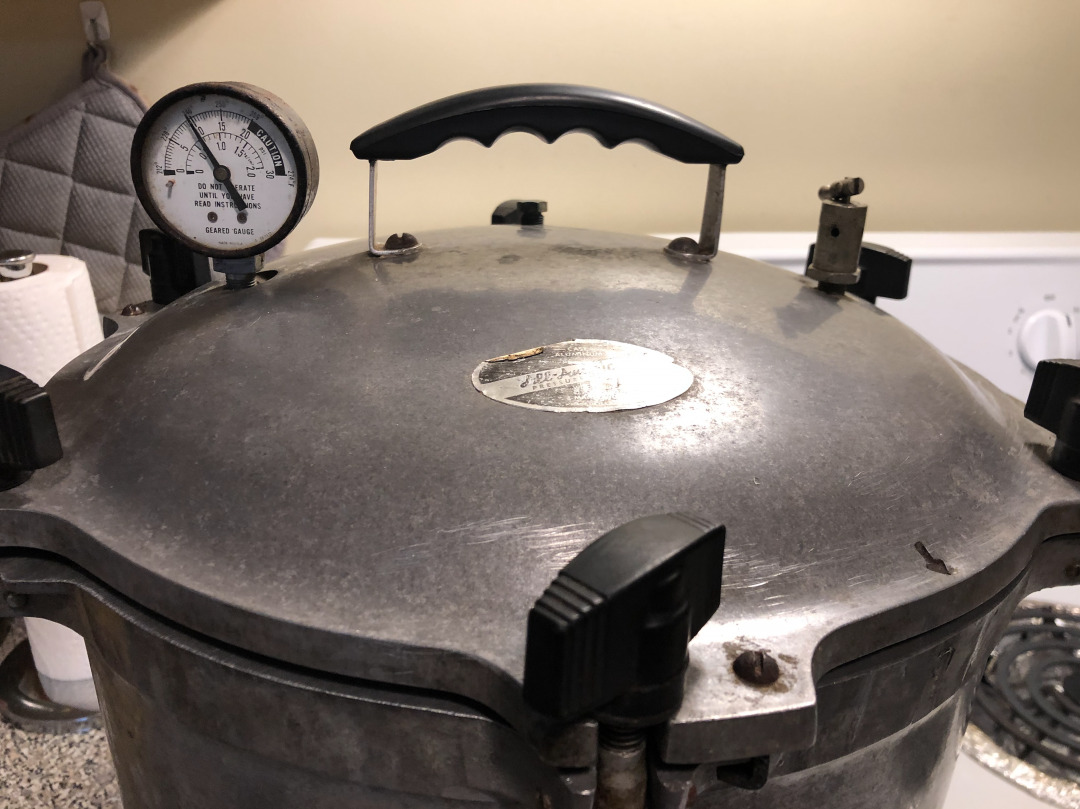
- Pressure canner (All American)
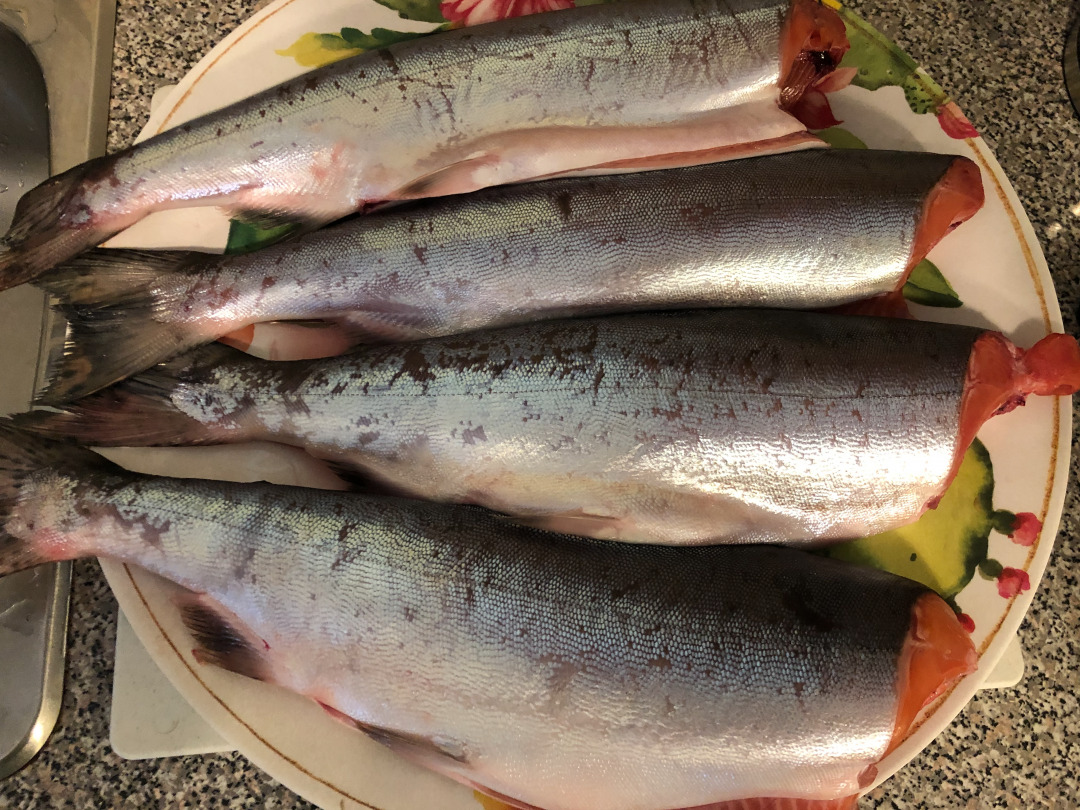
- Fresh salmon (we prefer to use Pink salmon)
- Sharp knife
- cutting board
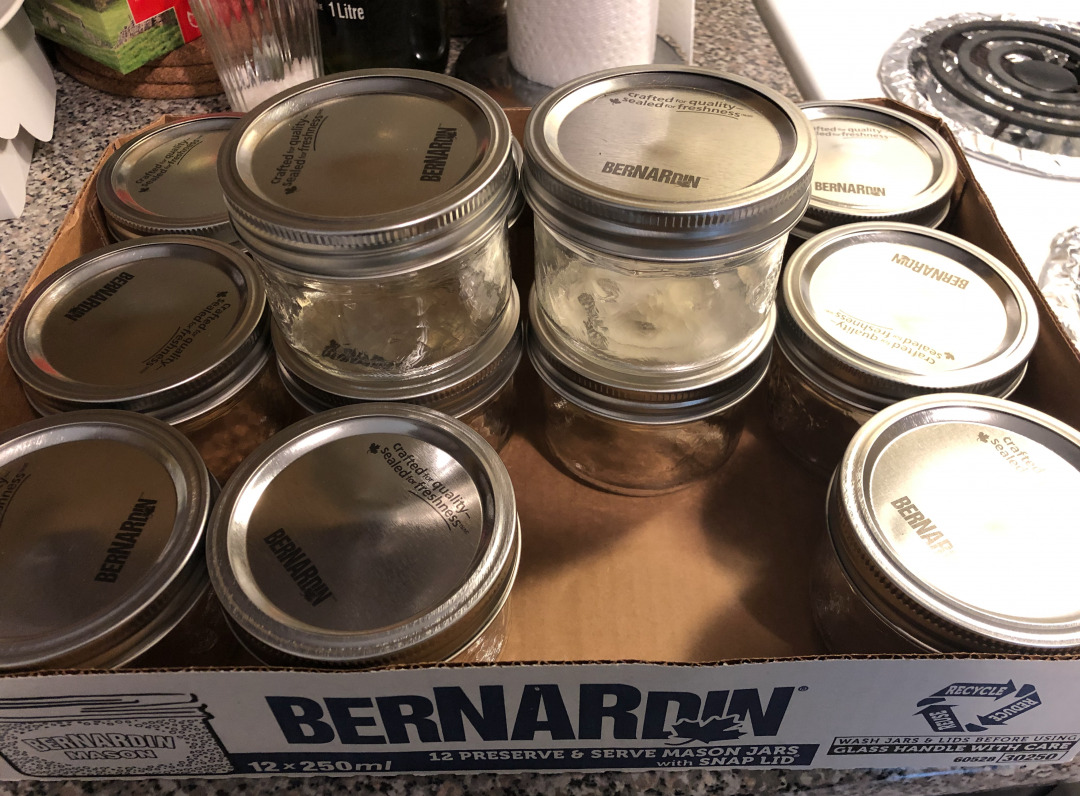
- half-pint canning jars (250ml)
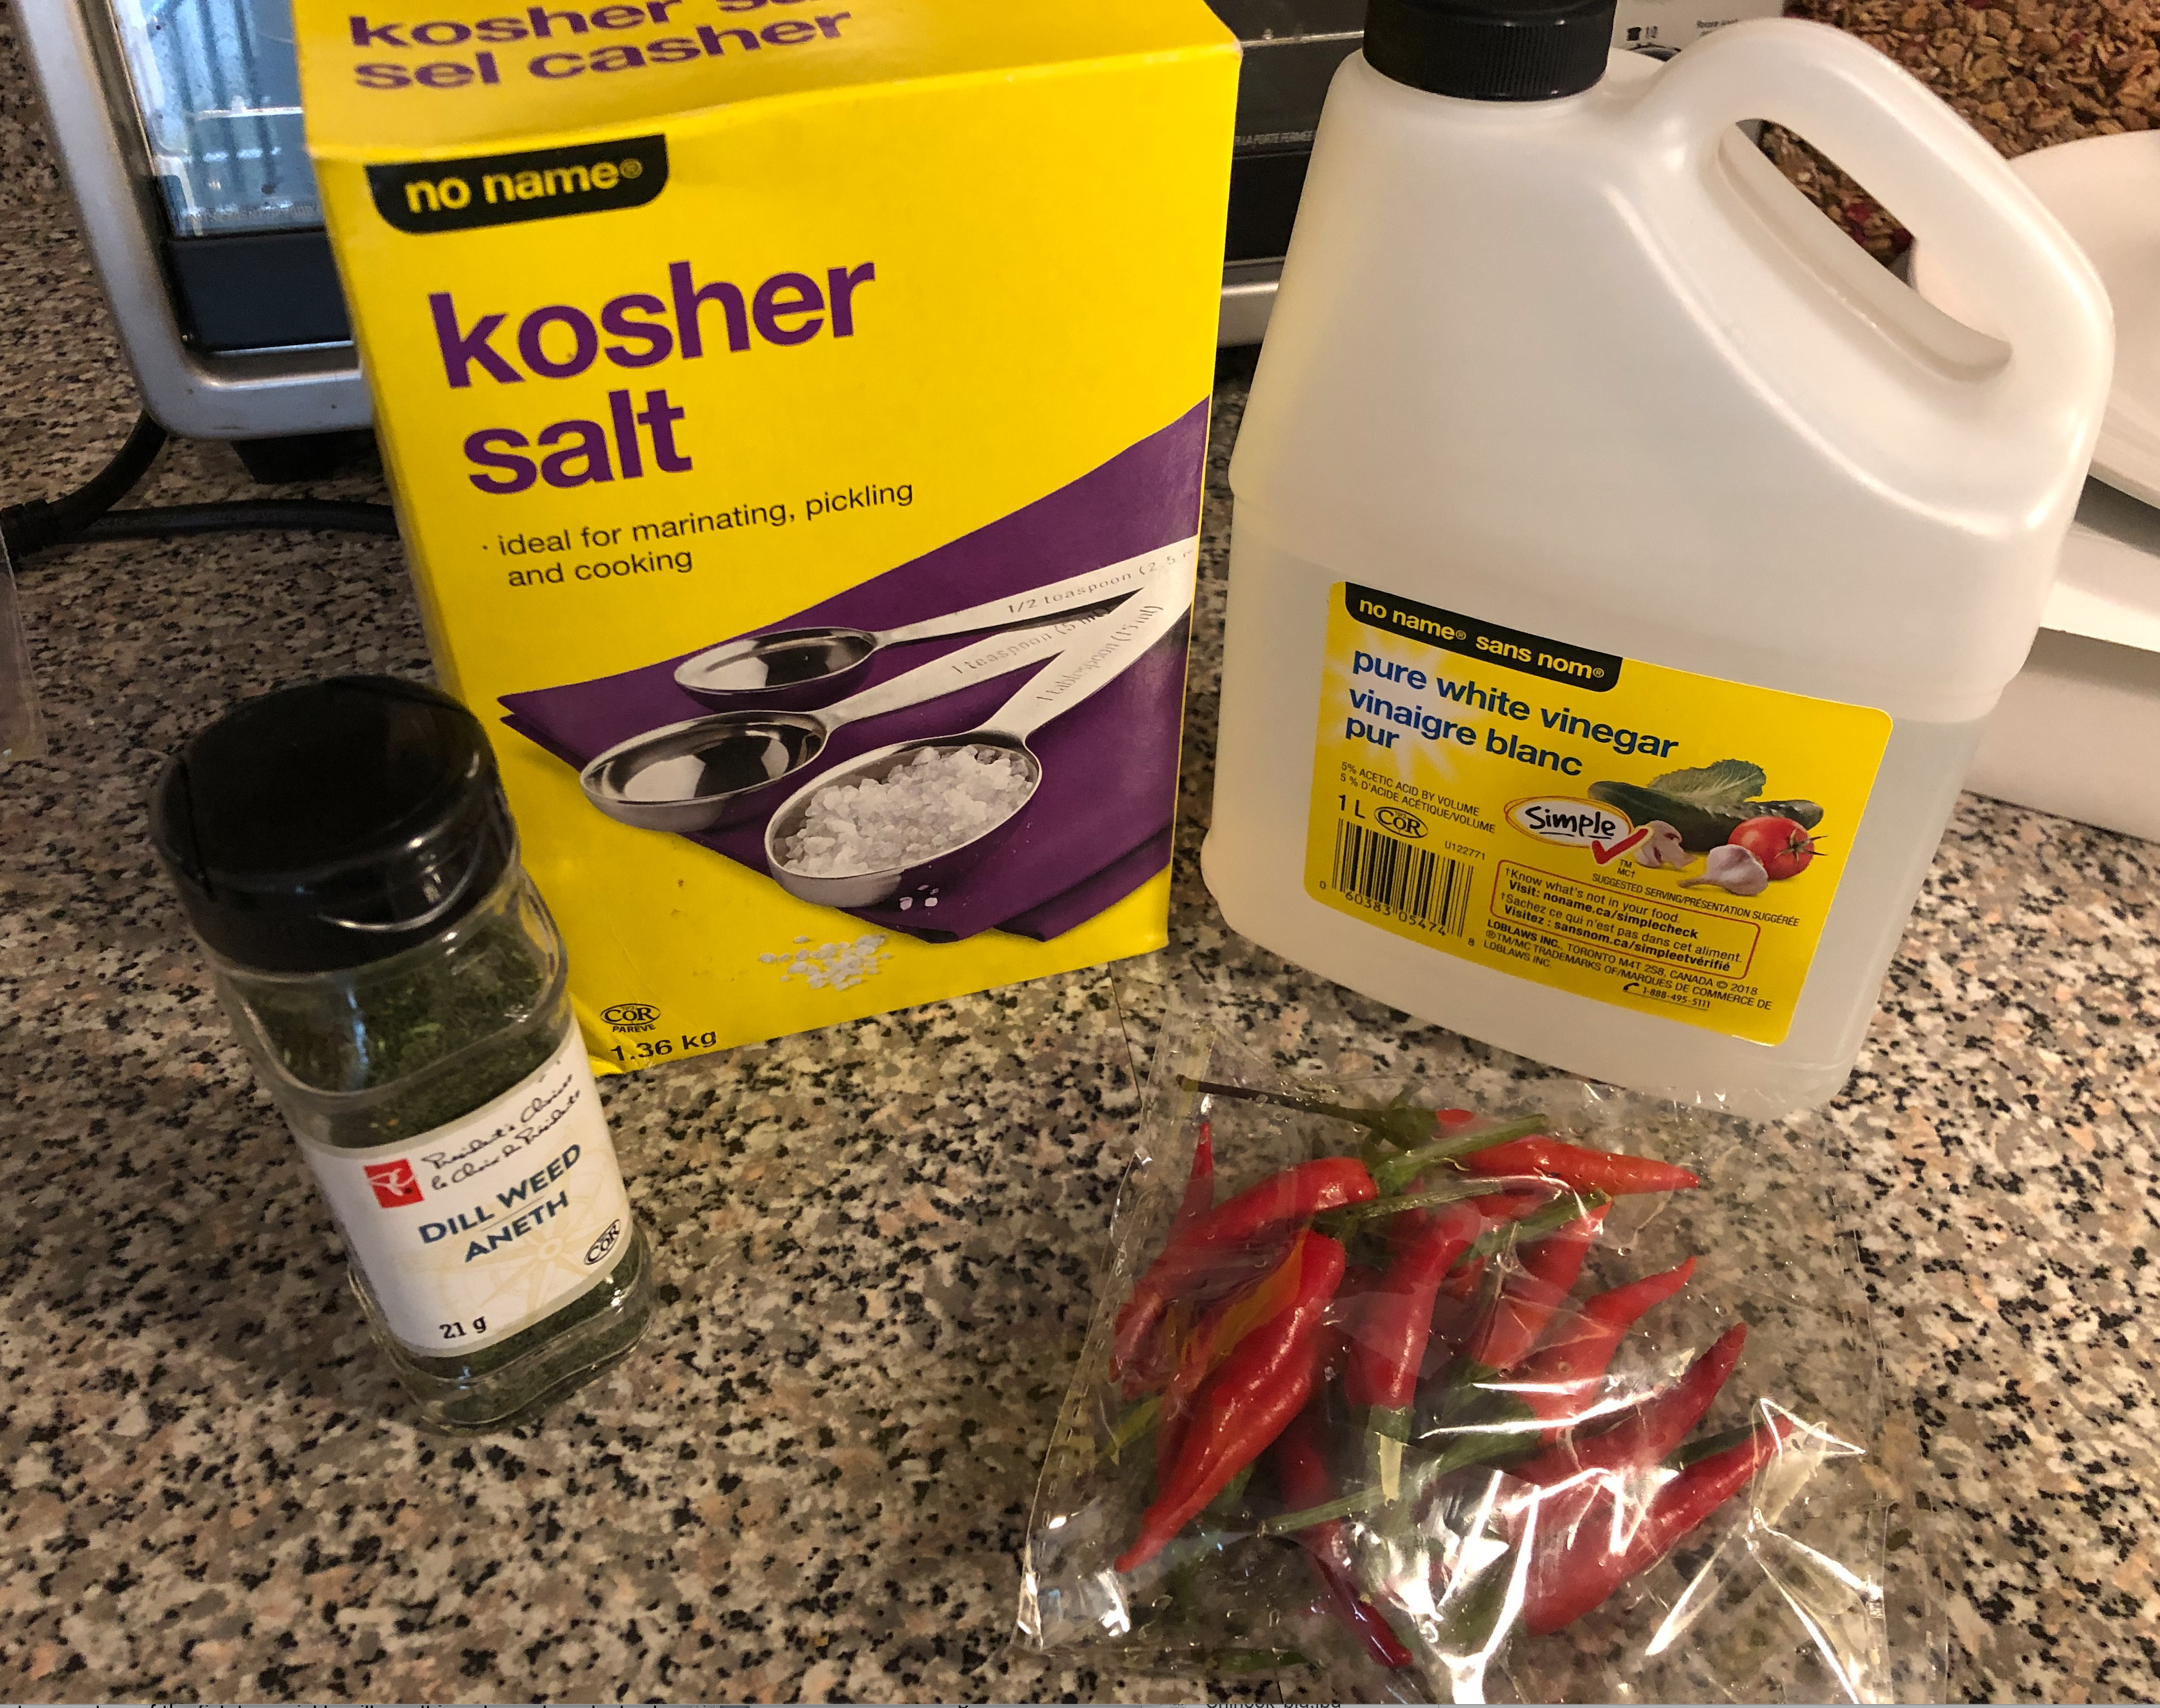
- white vinegar
- kosher salt
- dill
- chili pepper
Preparation
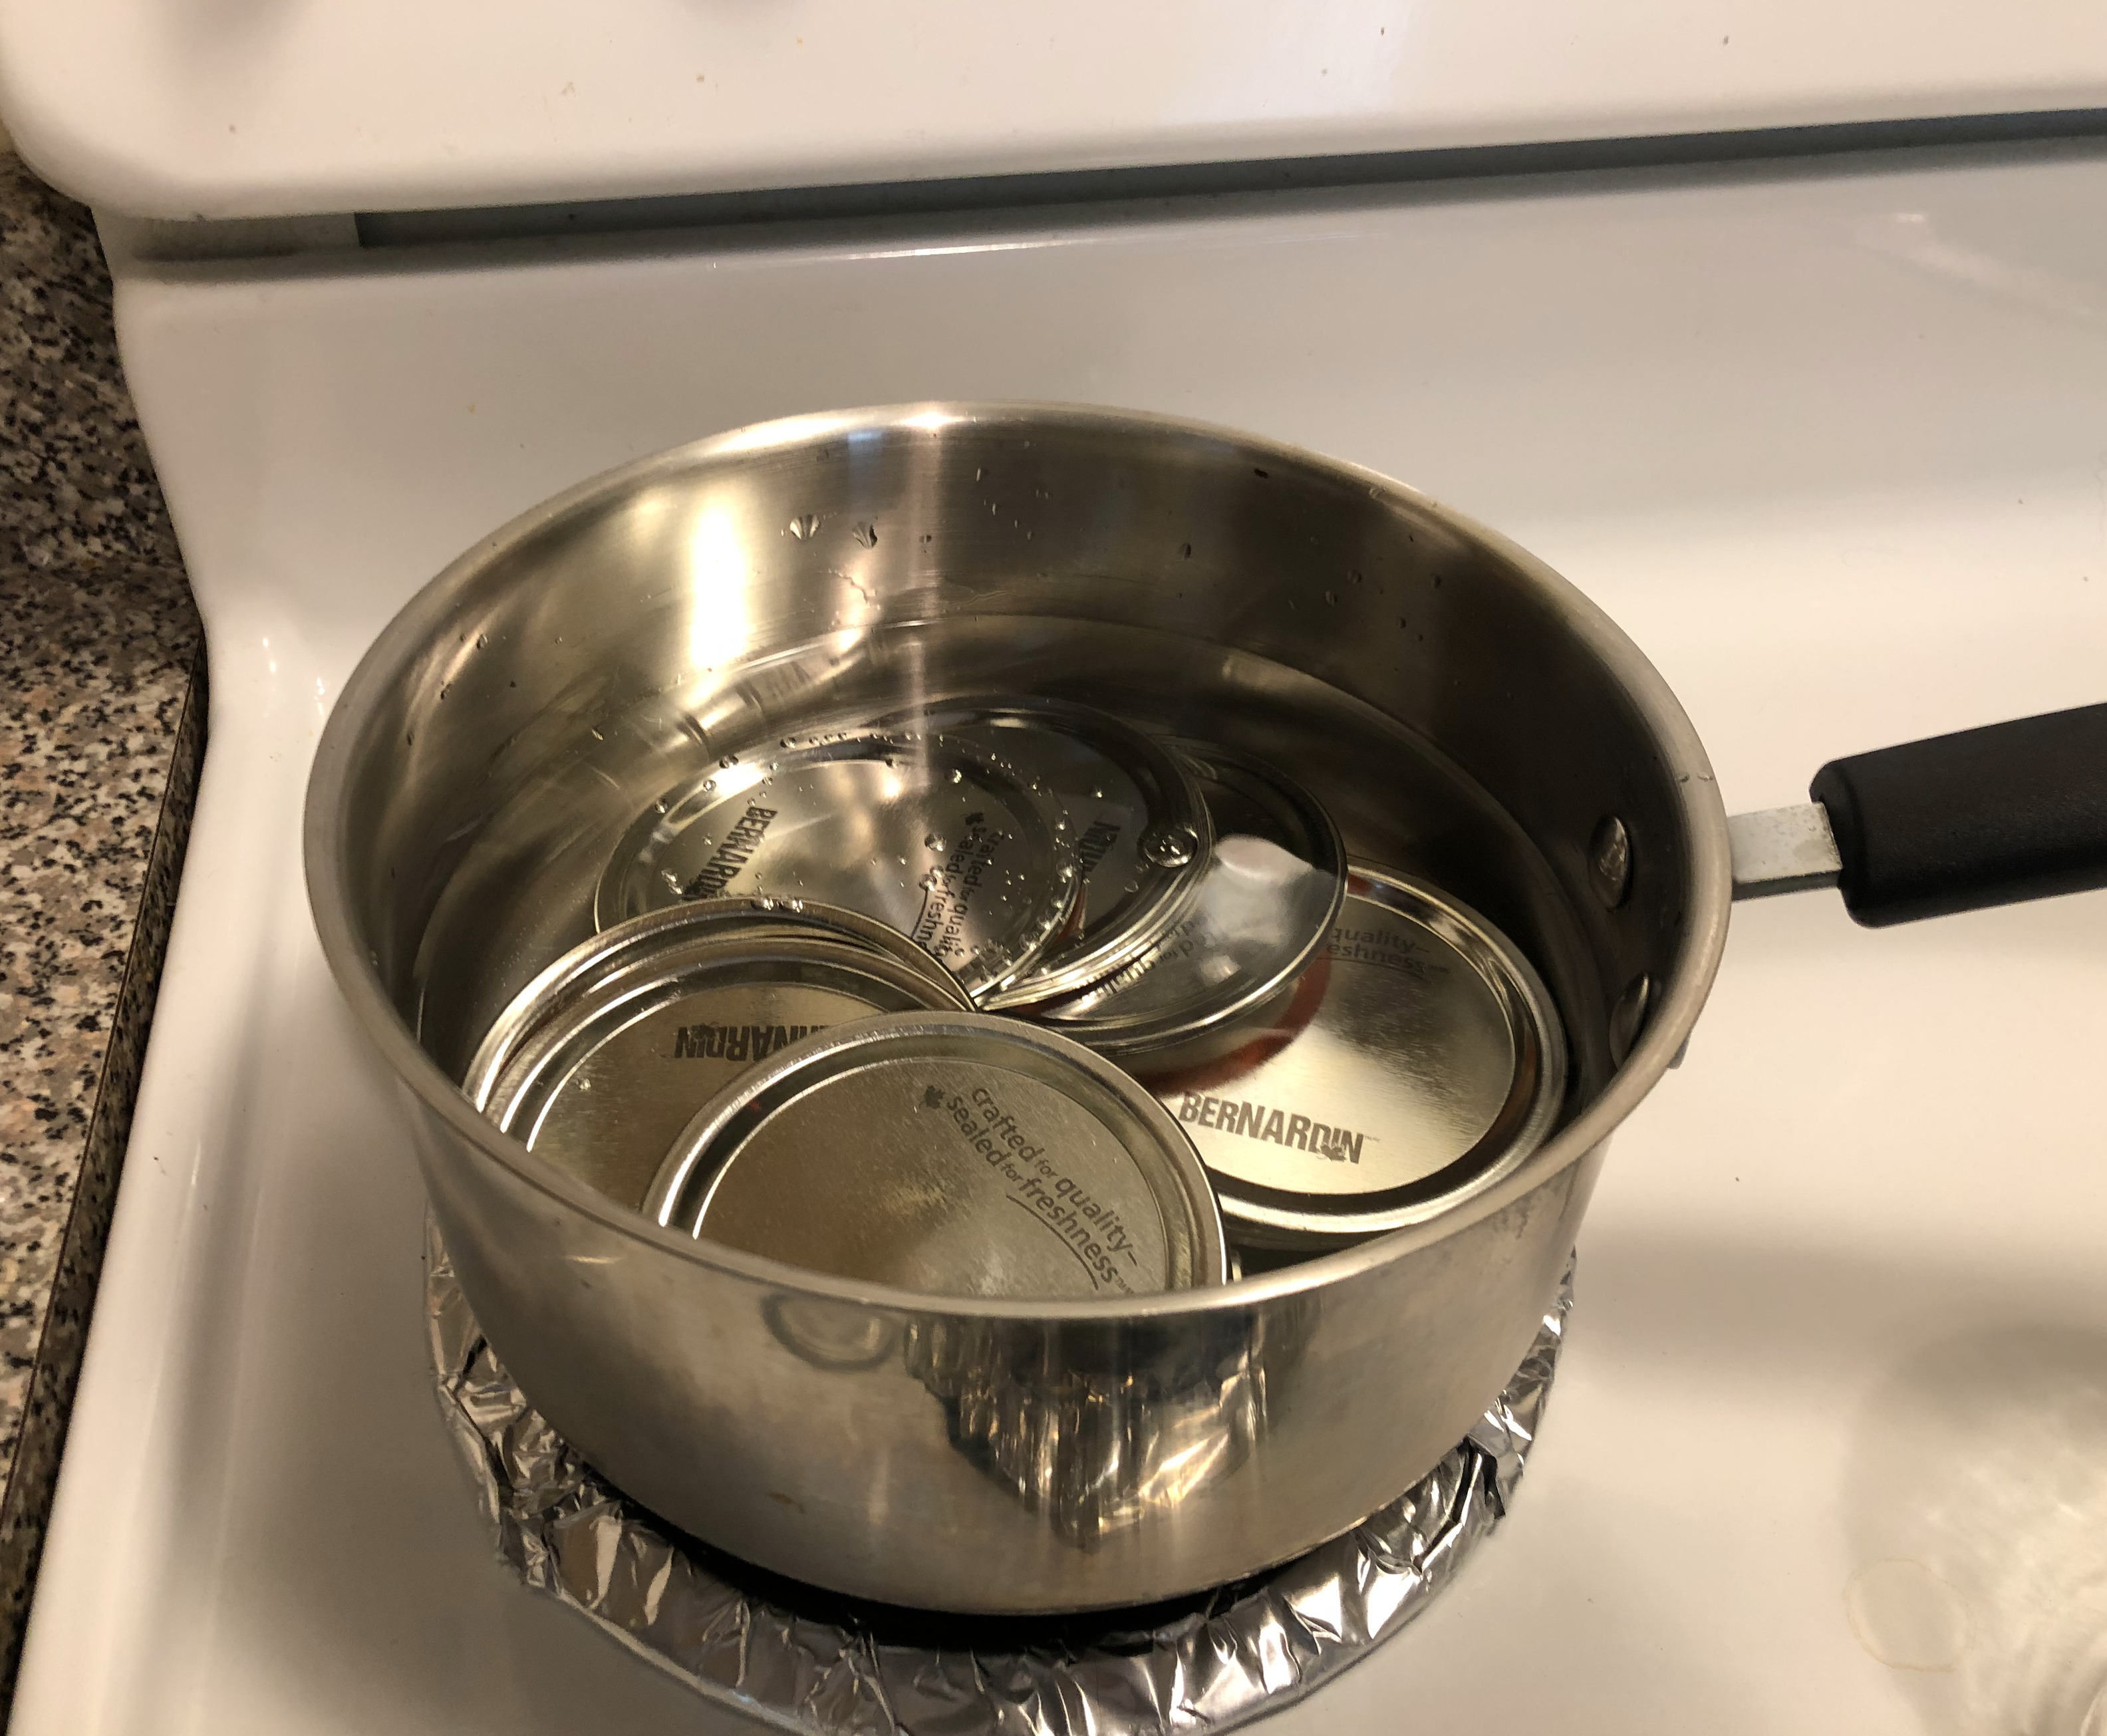
Prepare your jars. They don’t have to be sterilized, just clean, because they will end up in the pressure canner and be sterilized there. Usually I can fit one salmon in six half pint jars. Preheat the sealing discs in hot water. Keep the sealing discs hot until ready to use. Fill the pressure cooker and fill with water. Bring up the heat and let it simmer when you’re ready to use.
Prepare the salmon by removing the head, tail and fins. Wash the fish carefully by removing all the blood. I usually keep all the parts that I cut and steam them for my dogs to eat.
A meat cleaver works great for slicing and cutting right through the backbone. I can cut an entire section and it fits perfectly into the jars. I usually do “skin side out” but that is just personal preference. Bones, skin and all go into the jar. The bones will soften later by adding vinegar to the processing.
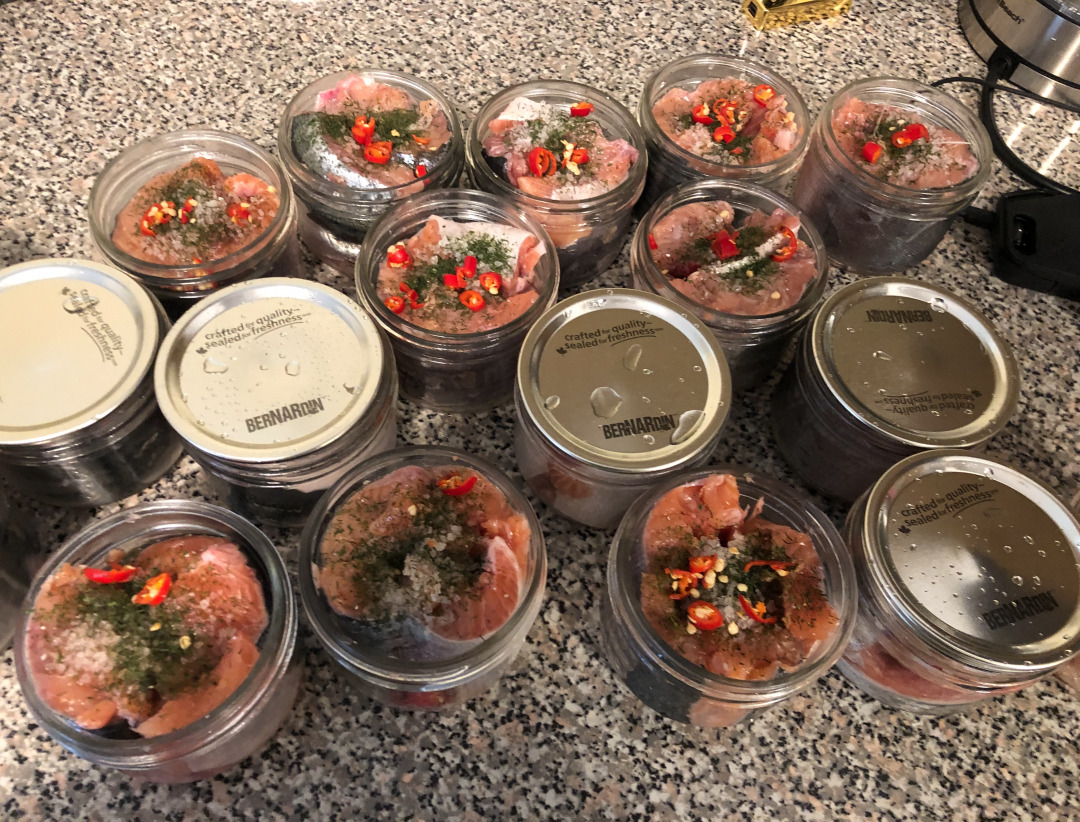
Pack your salmon tightly into the jars, leaving about a 1-inch headspace. This doesn’t have to be perfect.
After all the jars are filled, add your kosher salt. Do NOT use table salt! For half pint jars, I use 1/2 teaspoon of salt and 1/2 teaspoon of white vinegar to soften the bones. Then as an option, I would sprinkle dill and fresh chilies in all the jars.
Now, with a wooden chopstick, remove the air bubbles. Wipe the jar rim clean with a web paper towel moistened with vinegar (clean rims are essential to good seals).
Centre hot sealing disc on clean jar rim. Screw band down until finger tight. Fill your canner. Arrange the jars allowing space for steam to flow around jars. If stacking jars, place a second rack between layers of jars.
Preparation
When the pressure canner is full, add room temperature water to a level that is one to two inches above the jars. Lock the canner lids in place and begin pressurization.
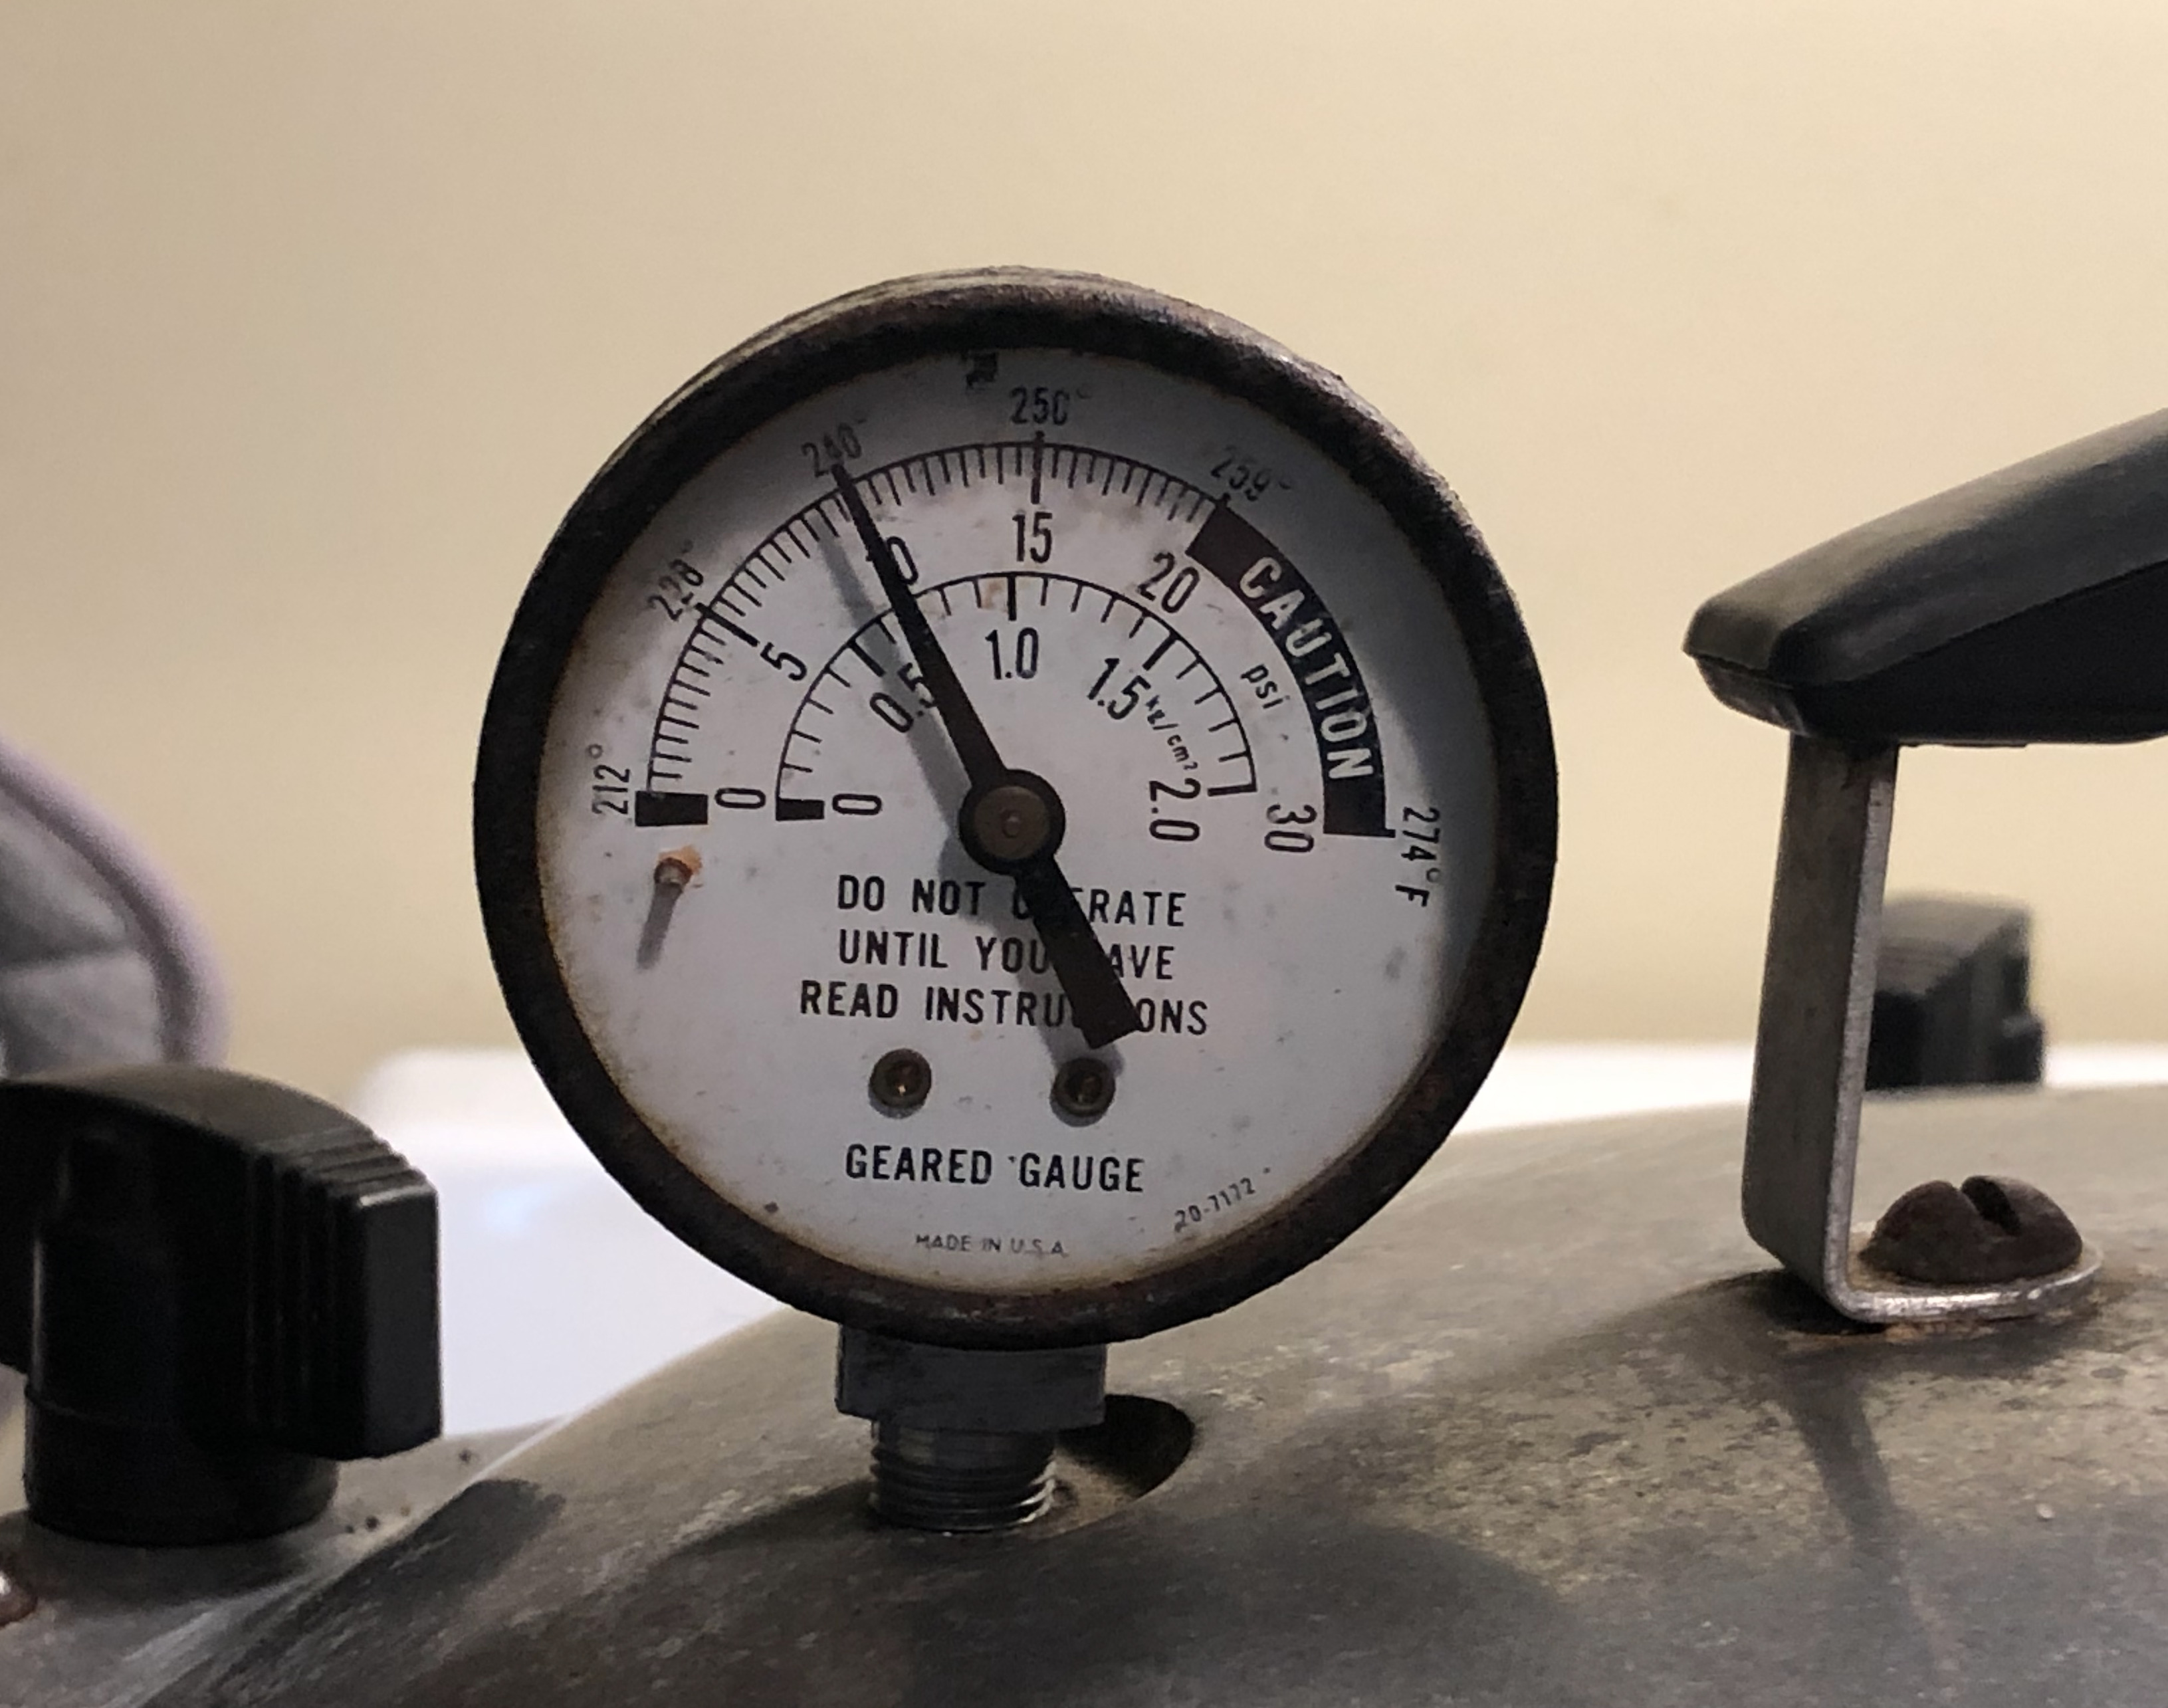
Depending on your altitude and type of pressure canner begin counting processing time. For my cooking, I heat my jars for 100 minutes at 10 lbs (69 kPa) but check your instructions depending on your elevation. If your pressure drops below 10 lbs guidelines say you must start timing all over again so it’s important to keep an eye on it.
Once your processing time is complete, turn off the heat and leave the canner alone unit the pressure has dropped back to zero and two to three minutes have passed. When you are done, vent your canner and take your jars out. Keep jars level as you’re removing them. Let your jars sit undisturbed for about 24 hours. After that remove the rings and wash in warm soapy water.
I hope you try my recipe. Thanks for reading.
THE BITE IS ON!
You think you've seen Vancouver?
You haven't seen it until you've seen it from the water.
BITES ON FISHING CHARTERS
LOCATION
Vancouver,
BC CanadaEmail


PHONE OR WHATSAPP


Vancouver Salmon Charters
Copyright 2023 Bites On Fishing Charters | Vancouver Salmon Fishing Charters |604.594.8189 |[email protected]